Skip to content

How it works

From surface to final fit.

DIY Scribe turns scribing into a controlled, repeatable process: position the system, capture the profile, make the cut, and return for the final fit.

Follow the process
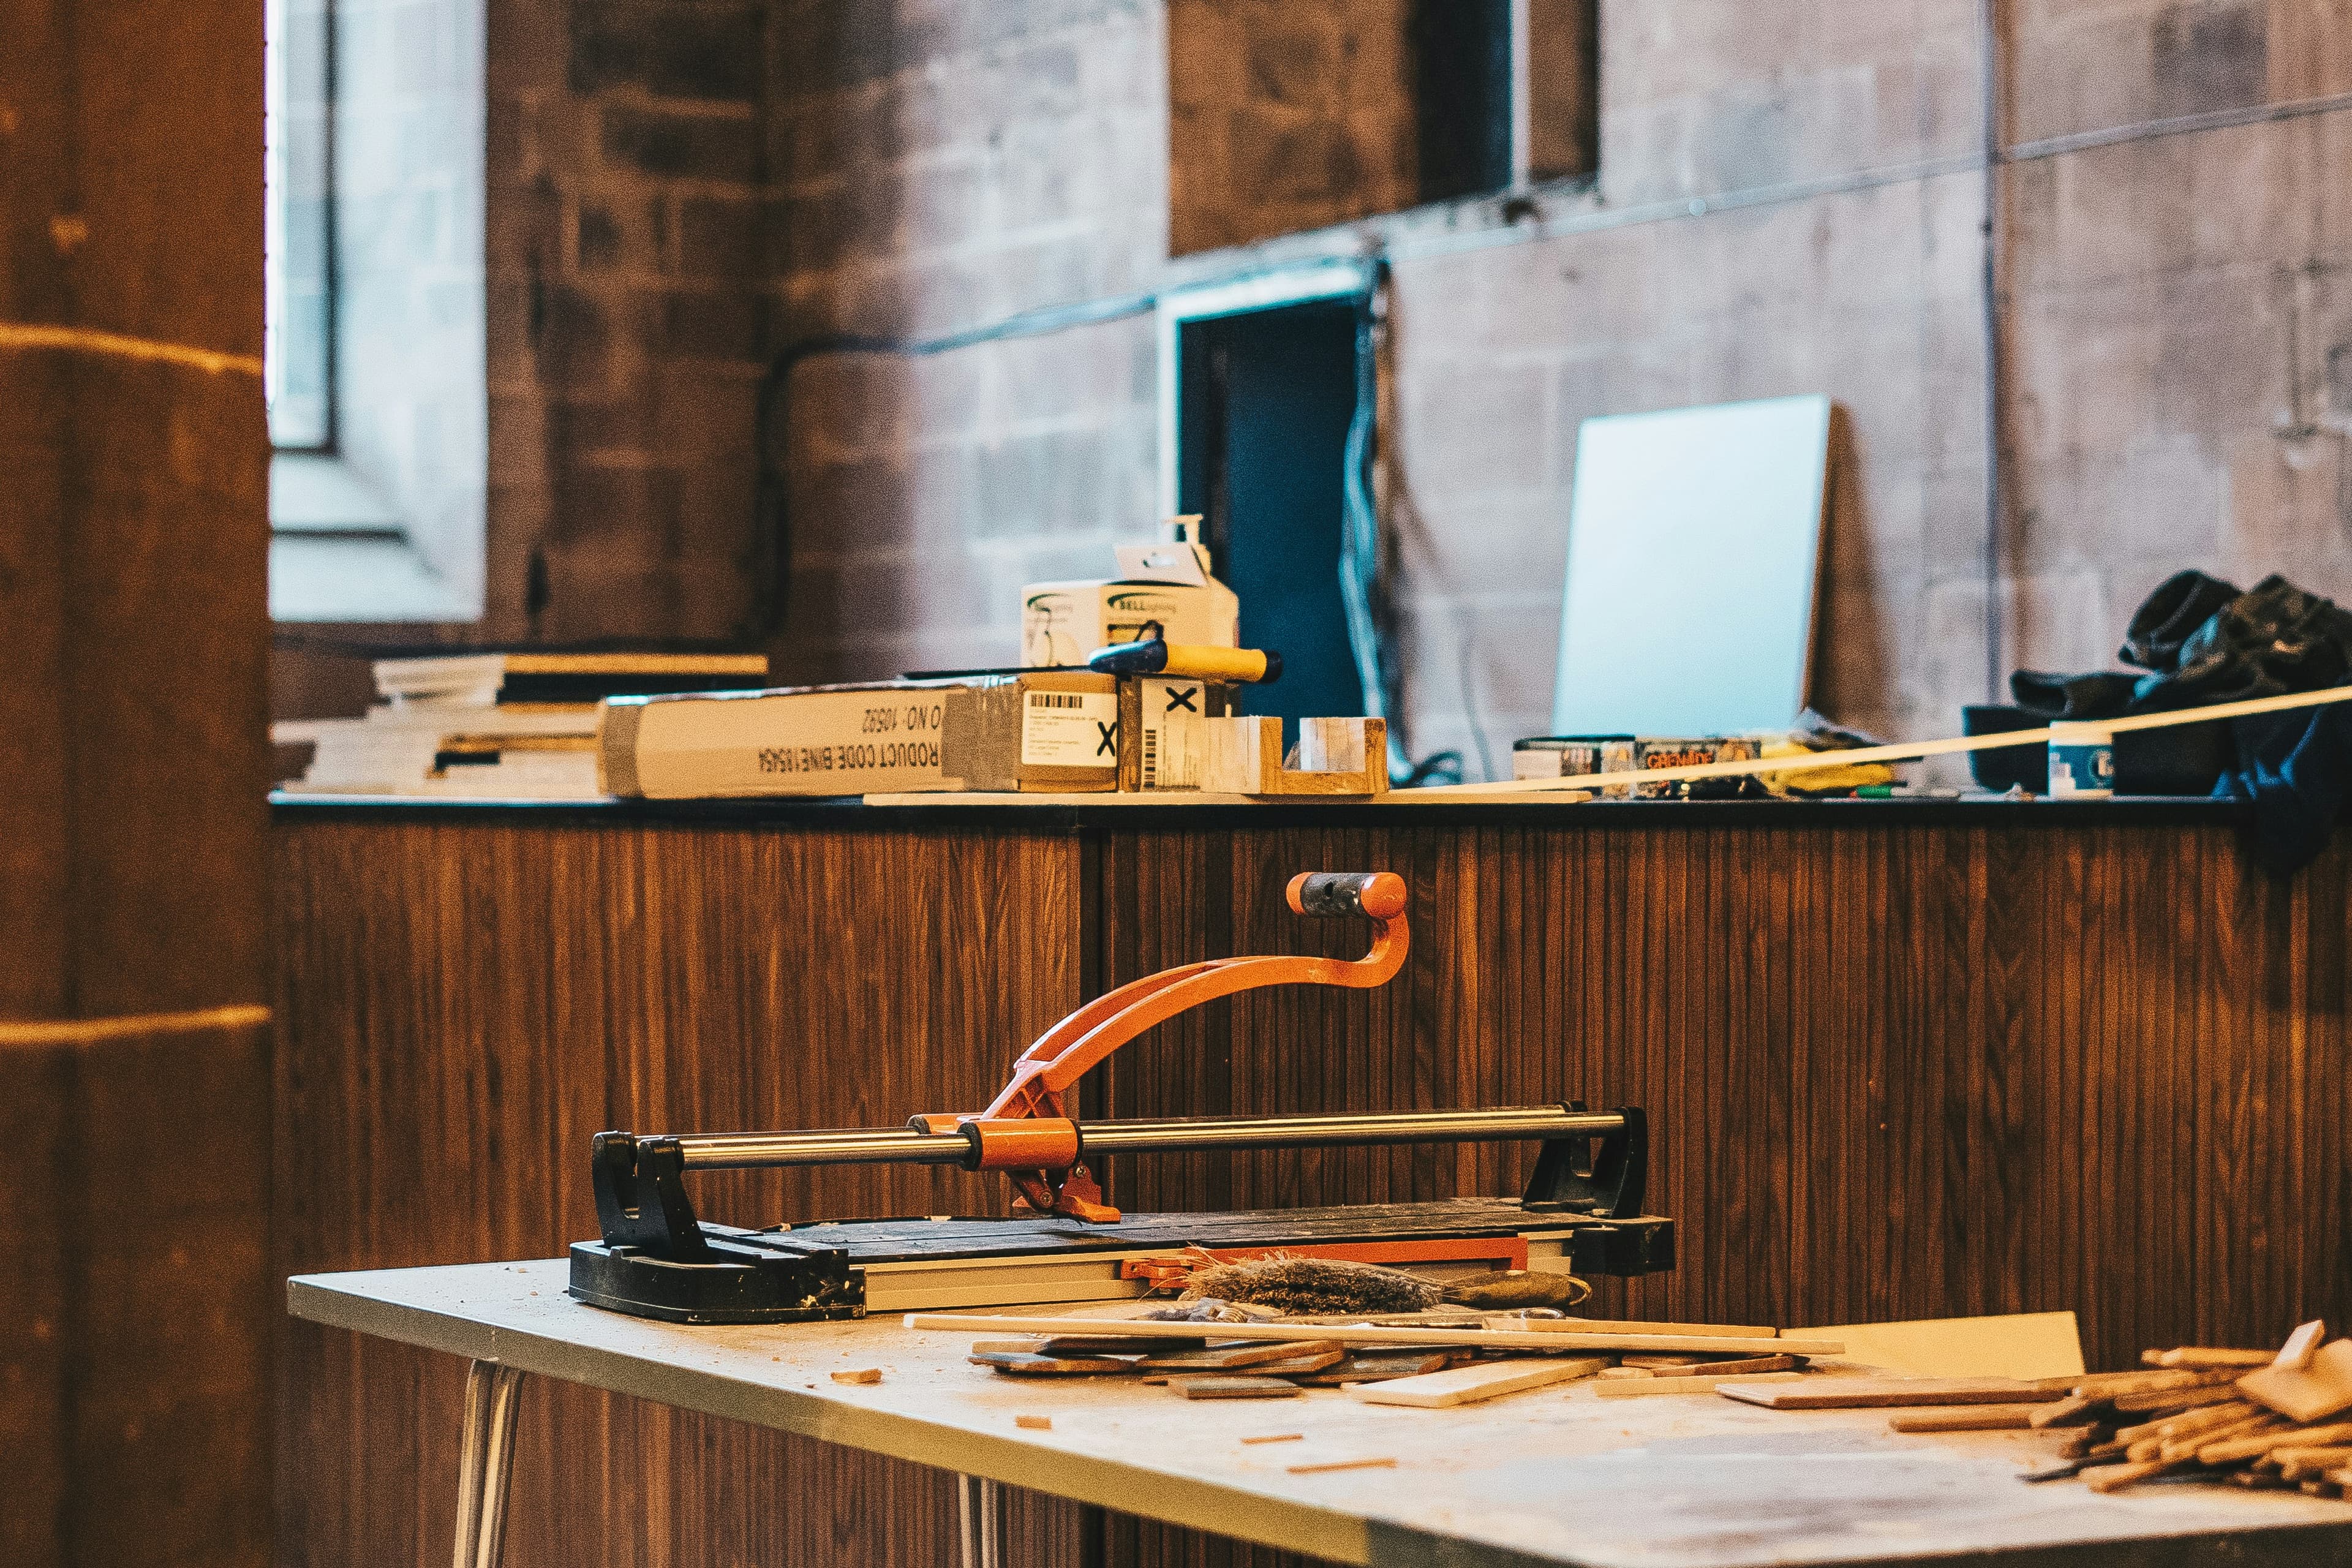
A joinery workshop with benches and timber machinery
Method sequencePosition. Scribe. Cut. Fit.
  1. 01Position
  2. 02Scribe
  3. 03Cut
  4. 04Fit

The complete sequence

Capture the surface. Transfer the profile. Achieve the fit.

  1. 01Position

    Establish the starting position at the surface.

  2. 02Scribe

    Capture and transfer the surface profile.

  3. 03Cut

    Take the transferred profile back to the bench.

  4. 04Fit

    Return the workpiece for the final fit.

Four stages. One method.

Move from the fitting surface to the bench, then return with the workpiece.

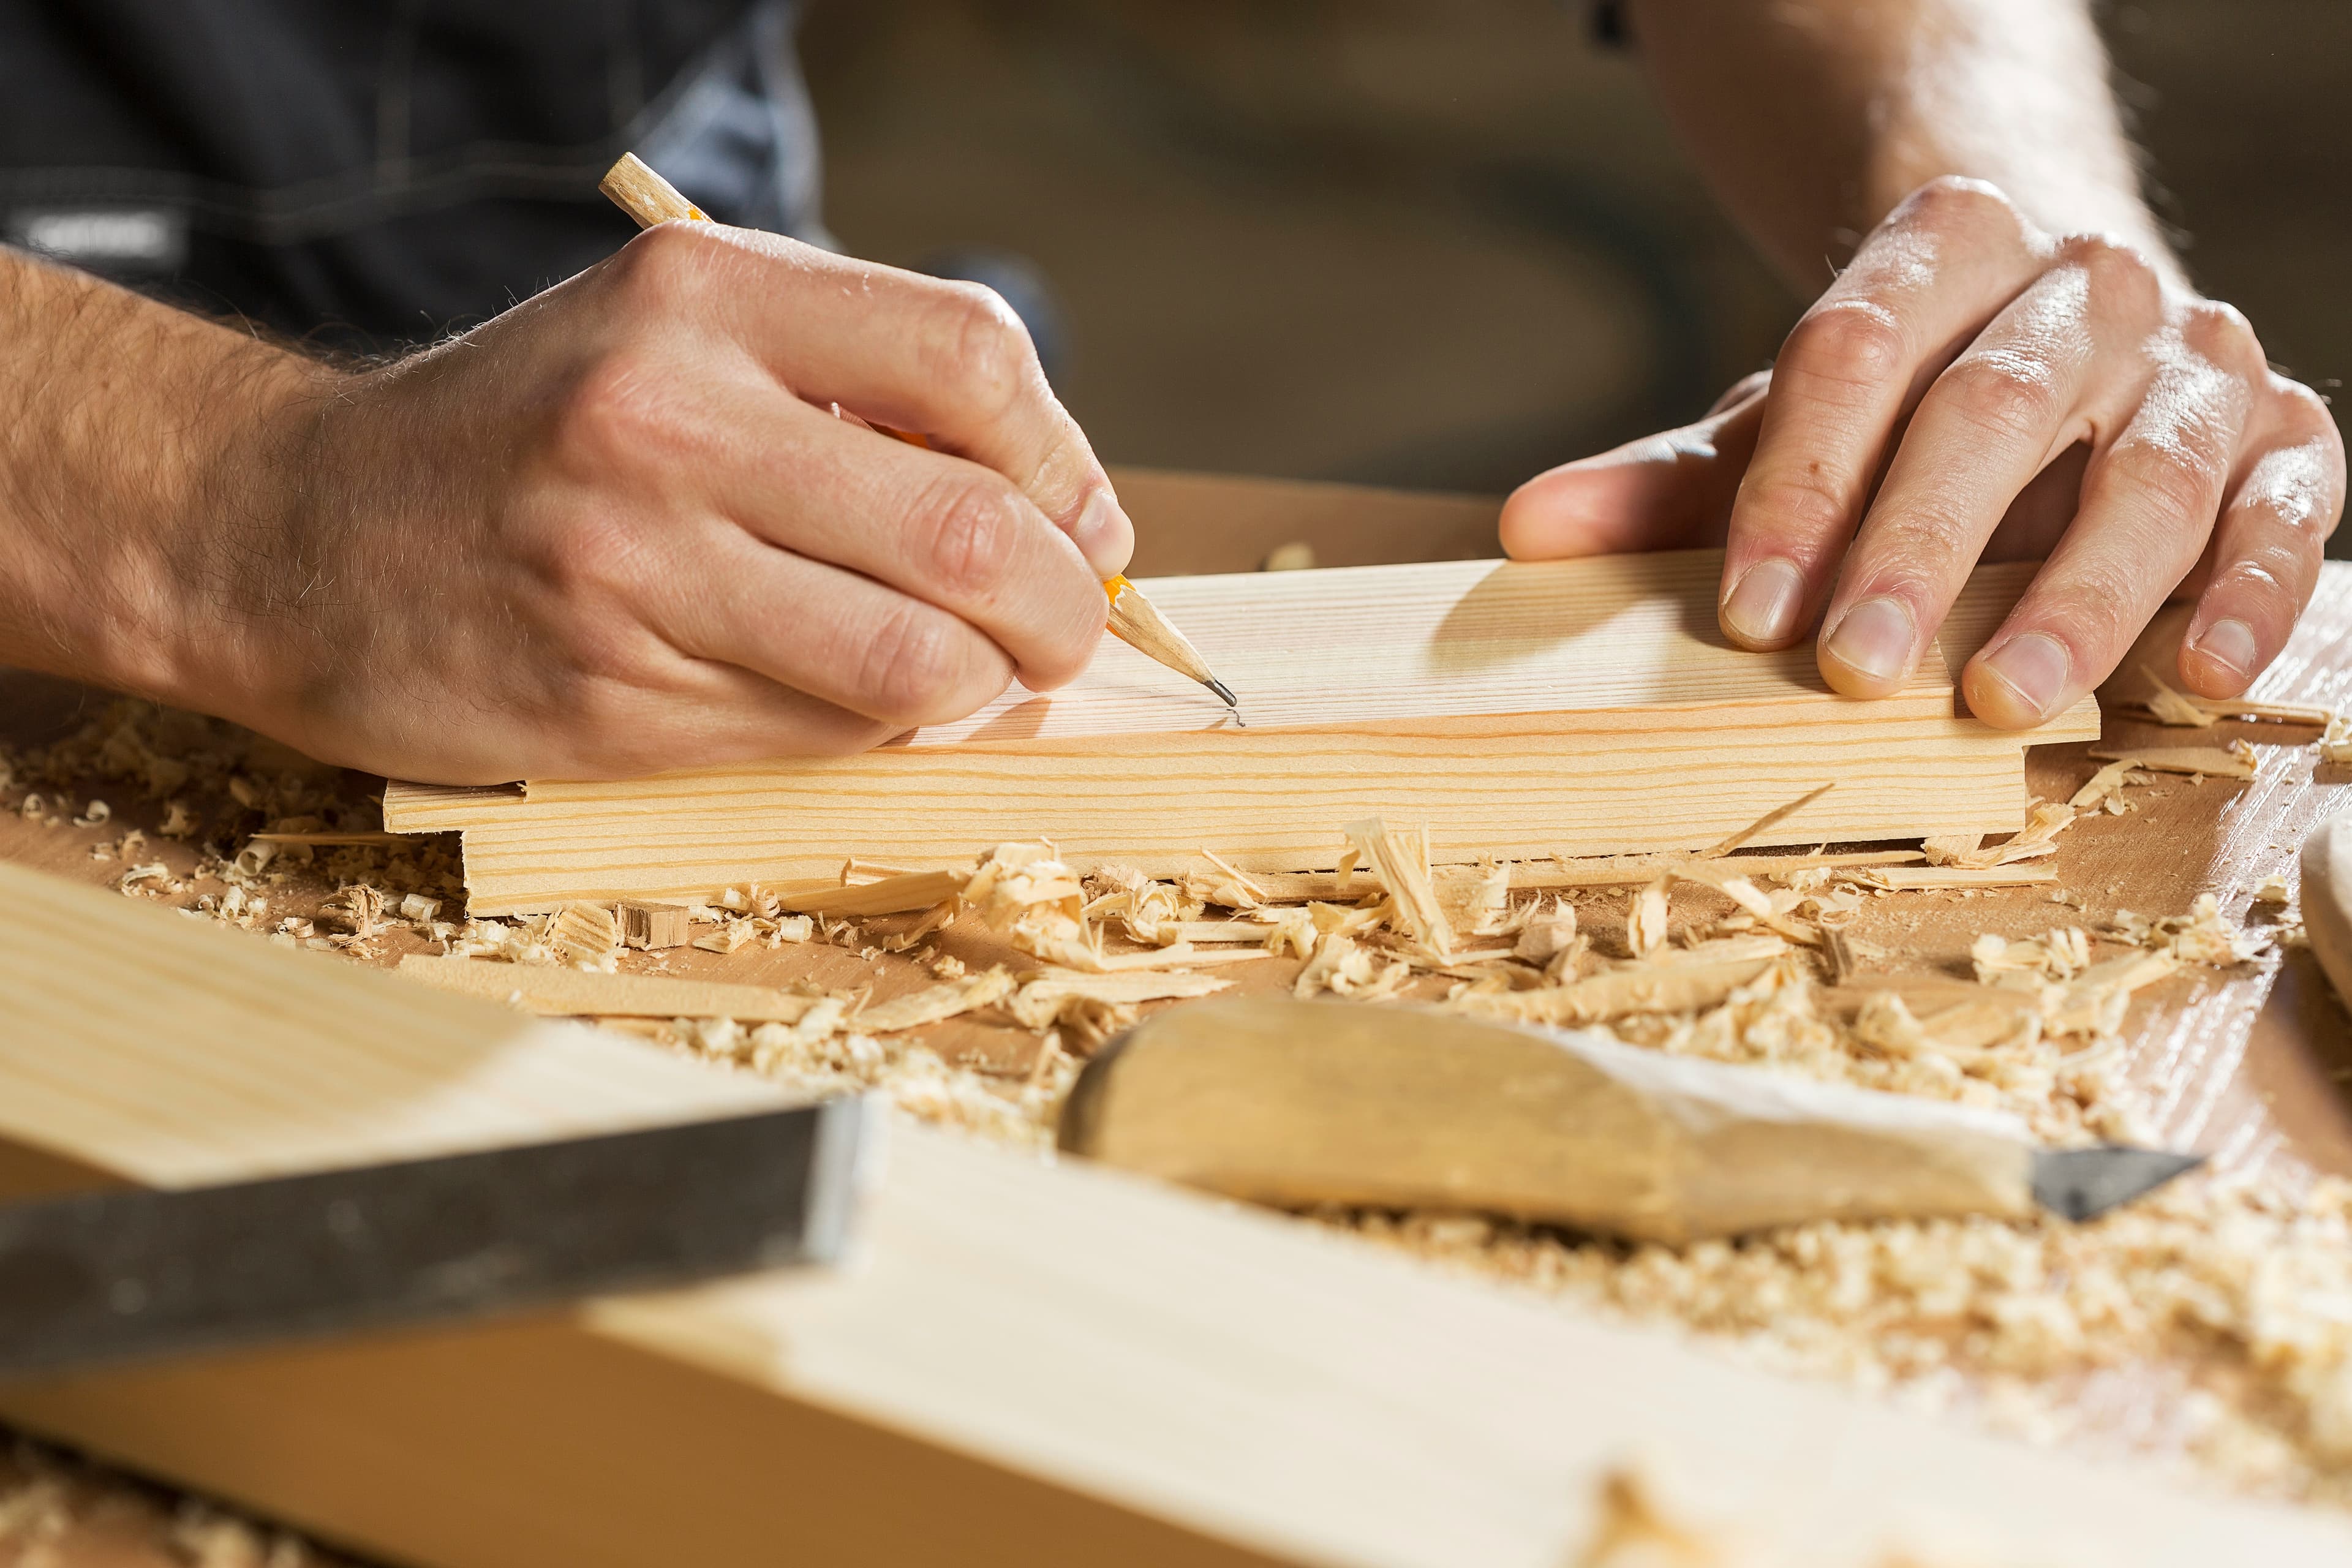
Hands marking a timber board in a workshop
01 / Workshop sequencePosition the system against the surface.
01

Step 01

Position

Set the DIY Scribe system against the surface and establish a clear starting position before the profile is captured.

The process begins at the surface being fitted to.

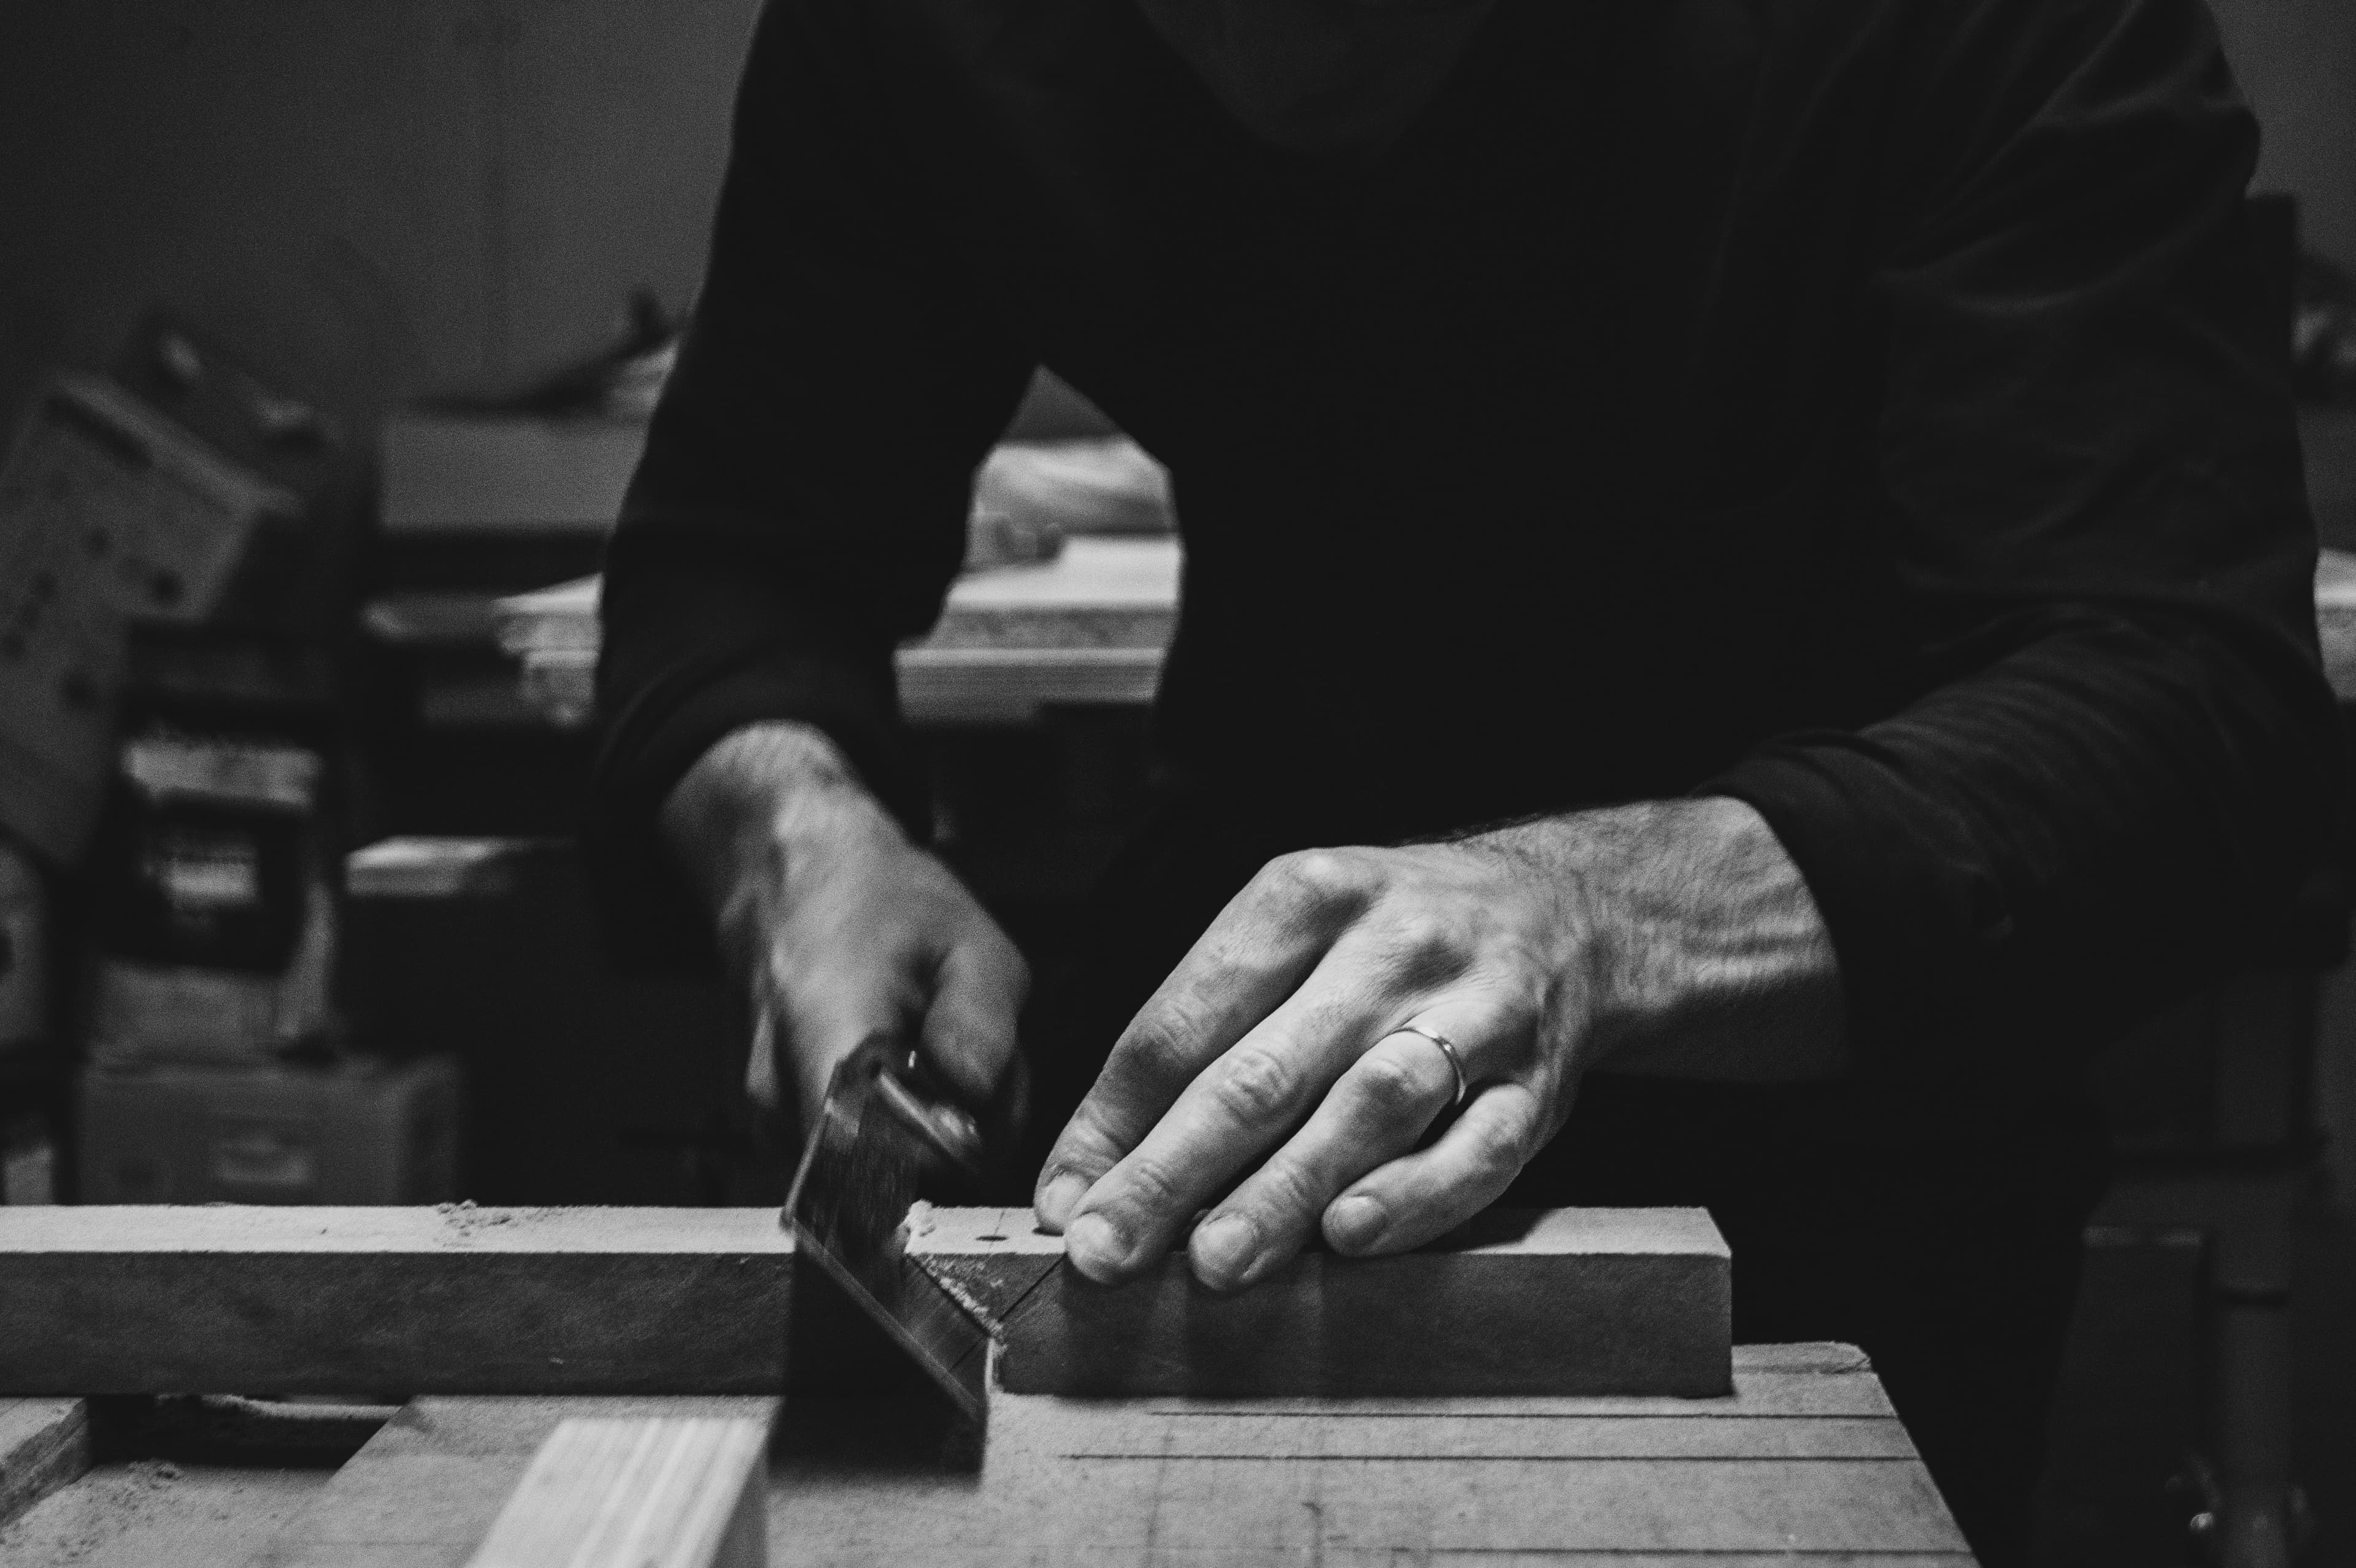
Close-up of hands working on a timber component
02 / Workshop sequenceCapture the profile at close range.
02

Step 02

Scribe

Capture or transfer the surface profile using the DIY Scribe method, carrying the reference from the fitting surface to the workpiece.

Controlled, repeatable contact carries the profile forward.

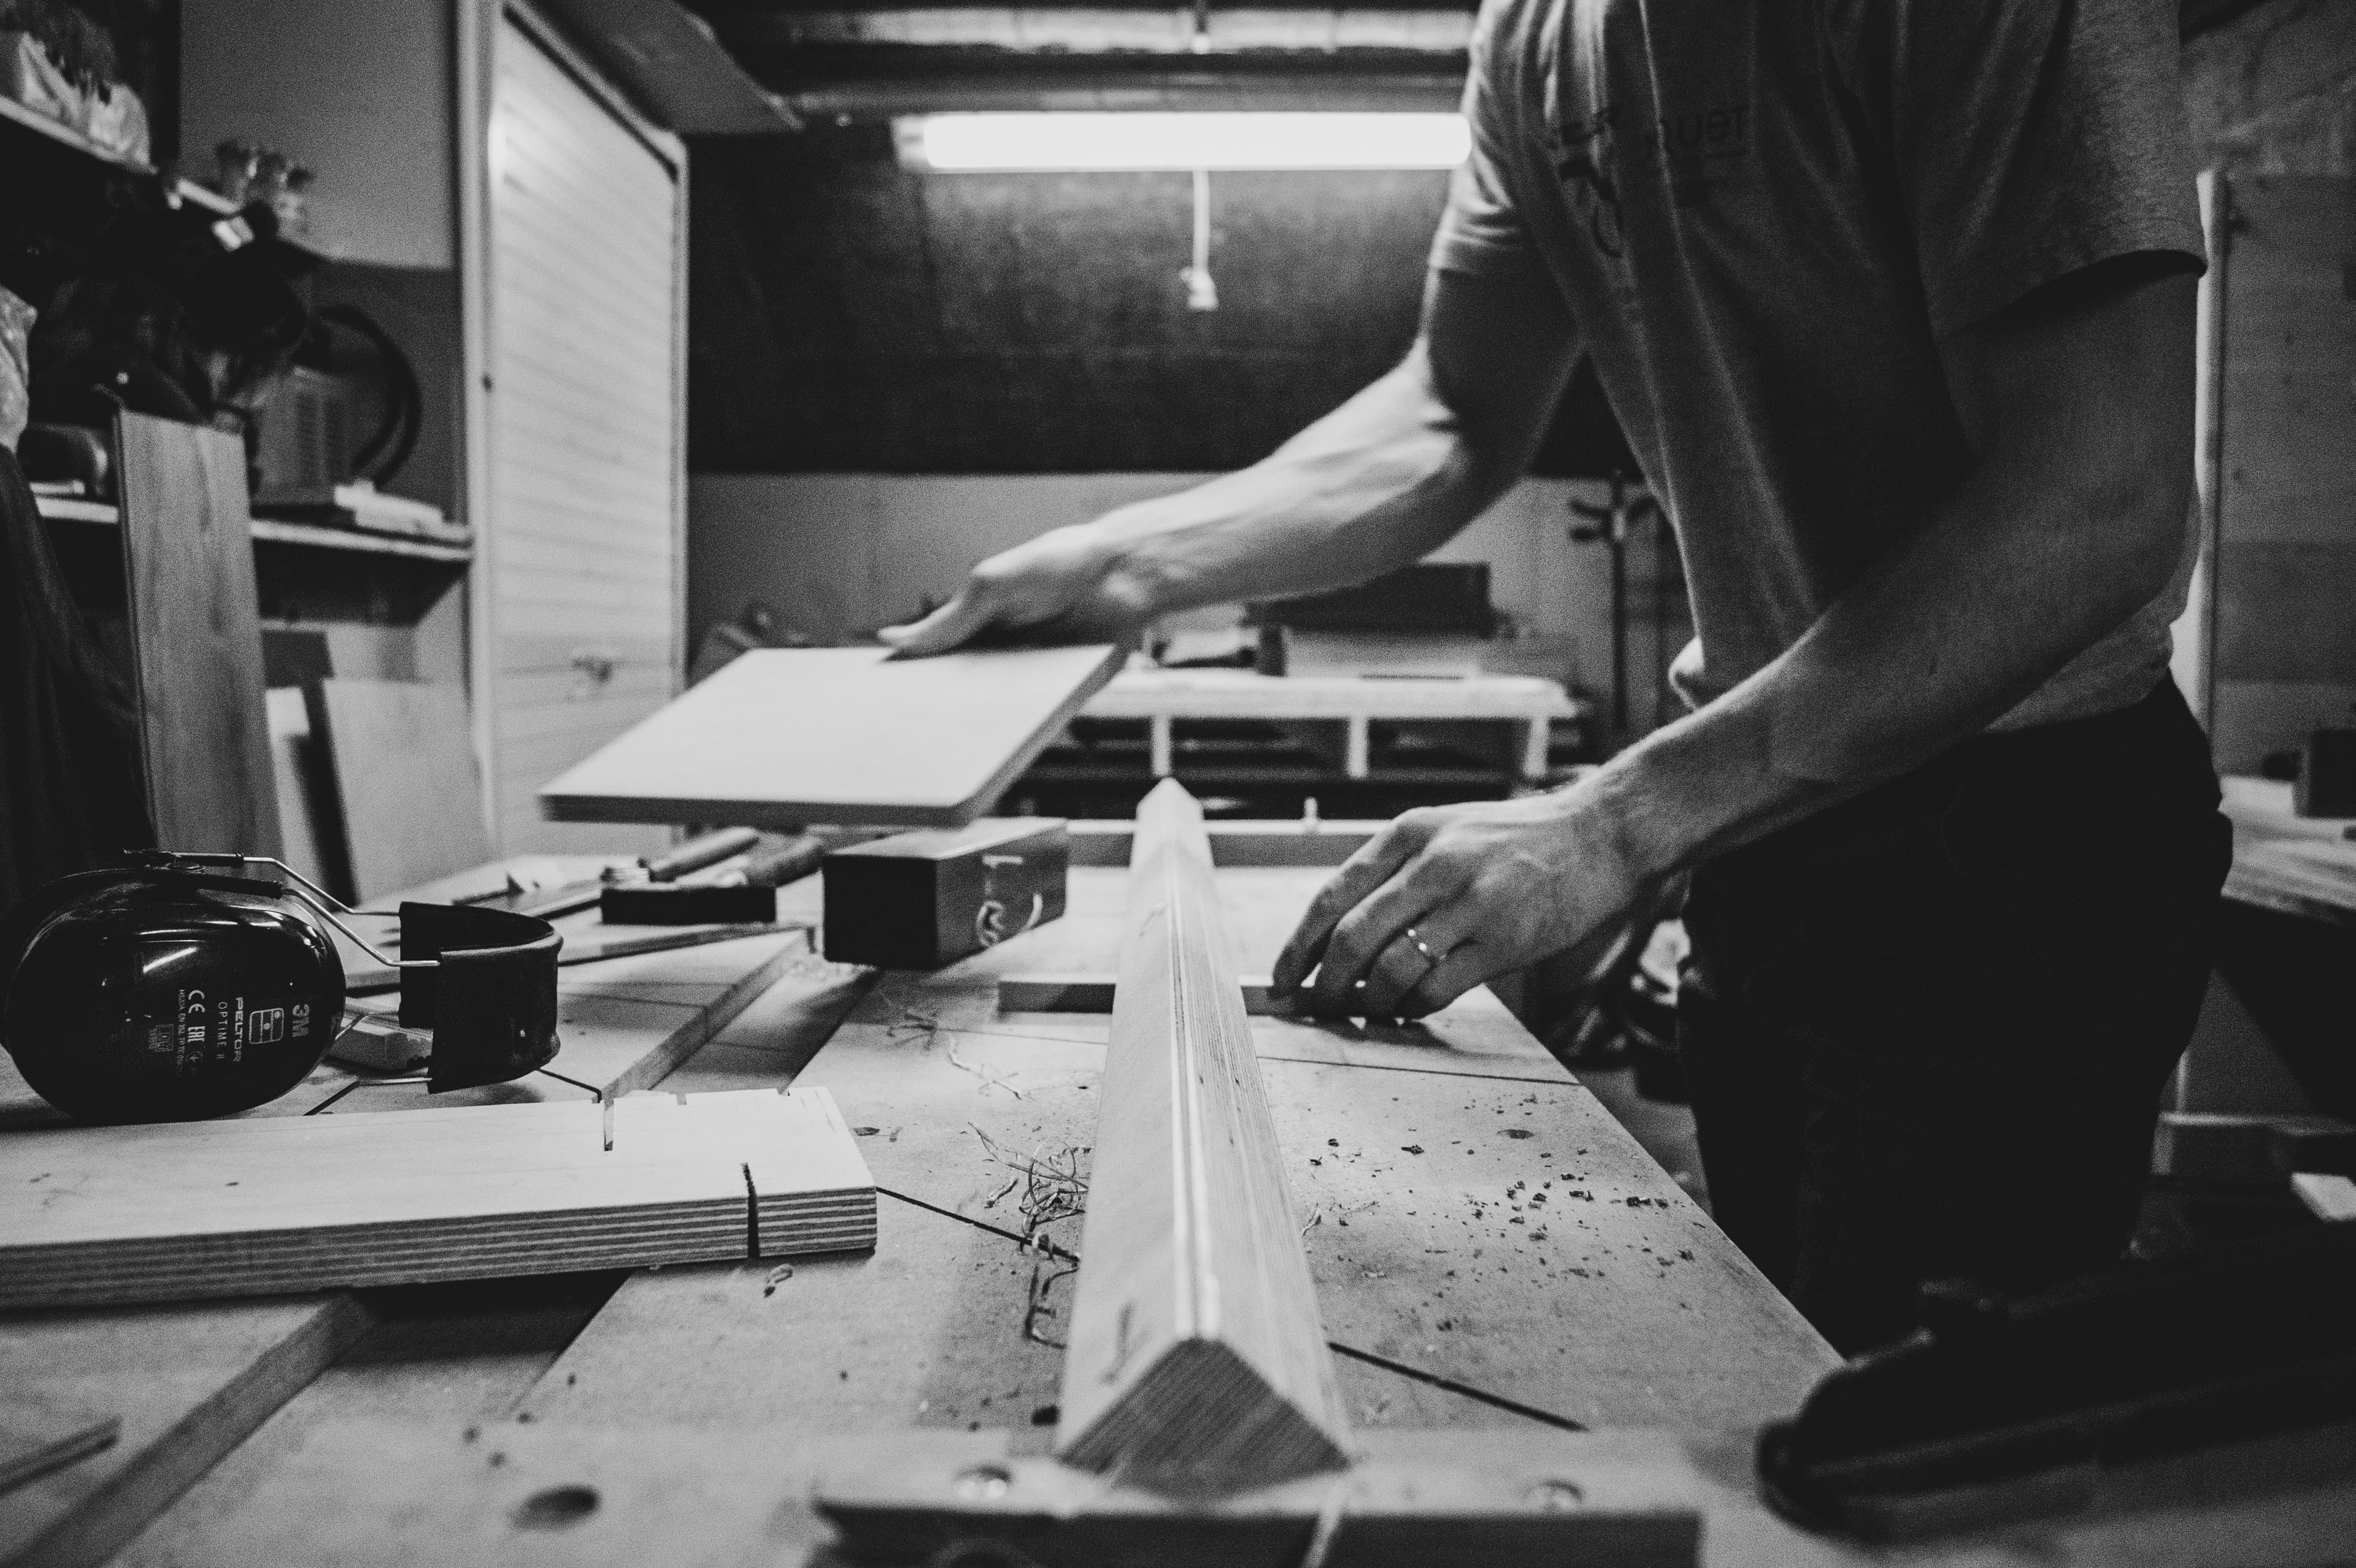
Joiner working with timber at a workshop bench
03 / Workshop sequenceWork from the transferred profile.
03

Step 03

Cut

Take the transferred profile back to the workpiece or bench and make the required cut.

The captured reference guides the next stage of the work.

Finished timber joinery in a contemporary interior
04 / Workshop sequenceShow the finished component in place.
04

Step 04

Fit

Return the workpiece for the final fit using the same defined DIY Scribe process from surface to workpiece.

The sequence resolves where it began: at the fitting surface.

Why a process matters

A defined method you can follow again.

DIY Scribe is intended to make scribing a controlled, repeatable workshop process rather than one that relies solely on eye, feel, and accumulated experience. It complements established craft knowledge with a defined sequence that can be followed again.

Applications

One process. Different fitting situations.

The same four-stage framework connects to a broad range of confirmed joinery applications.

Explore all applications
  1. 01Kitchen end panels
  2. 02Bench tops
  3. 03Wall shelving
  4. 04Doors
  5. 05Skirting
  6. 06Windows

Product + training

The product gives you the system. Training teaches you the method.

This page explains the four-stage concept. Practical training supports owners in understanding and adopting the complete DIY Scribe method.

Explore training
SystemMethodPractice

Method questions

Understanding the process.

How does DIY Scribe work?

DIY Scribe follows a four-step framework: position the system against the surface, capture or transfer the profile, take that reference back to the workpiece for cutting, then return for the final fit.

Do I need previous scribing experience?

DIY Scribe is supported by practical training intended to explain the method.

Does DIY Scribe require training?

Training is a central part of the DIY Scribe proposition because it teaches the method that supports the physical system.

What can DIY Scribe be used for?

Confirmed applications include cabinetry and panel fitting, bench tops and shelving, and interior joinery work such as doors, architraves, flooring, skirting, ceiling panels, and windows.

DIY Scribe

Ready to see the system?

A practical product supported by a controlled, repeatable method.